This Post may contain Affiliate Links. Please read our Disclosure for legal jargon.
With the end of winter and the arrival of spring comes the time to open those windows and feel the fresh air. But to truly embrace the freshness of spring, you have to spring clean your house and get it in tip-top shape. However, spring cleaning can be overwhelming.
That’s why we’ve compiled this post on spring cleaning tips and tricks that will help you get your home spring-cleaned in no time. And to make this daunting task a little more manageable, we’ve split up the work into parts to tackle each day or week. This way you’ll hit all the parts of your home that needs cleaning and make sure you don’t miss a spot.
Believe me, these cleaning tips and tricks will change the way you do spring cleaning. So, once it’s time to pull on the gloves and start cleaning, use these tips as a guide:
Outline
Make a Plan
Planning is crucial for spring cleaning because you will be deep cleaning your entire home. The best plan for spring cleaning is to tackle one room at a time as this will keep you focused on the task at hand. Here is a printable spring cleaning checklist to help you with the plan.
The Top-Down Strategy
You should always clean using the ‘top-down’ strategy i.e start cleaning from the top of the room (ceilings, light, and fan fixtures) and end at the bottom (baseboards and floors). The benefit is that doing this will force any dust or crumbs to fall on the floor which can be picked up at last.
This will also keep you from having to re-clean your space.
Go Green for Spring Clean
The best way to spring clean is to go green and stay away from products with chemicals and toxins. From baking soda to borax, all the best green cleaning ingredients are usually present in your kitchen. The best part is that these ingredients are non-toxic and affordable. Here is an extensive list of green cleaning products.
- Baking Soda
- Borax
- Vinegar
- Hydrogen Peroxide
- Rubbing Alcohol
- Liquid Castile Soap
- Natural Salt
- Lemons
- Essential Oils
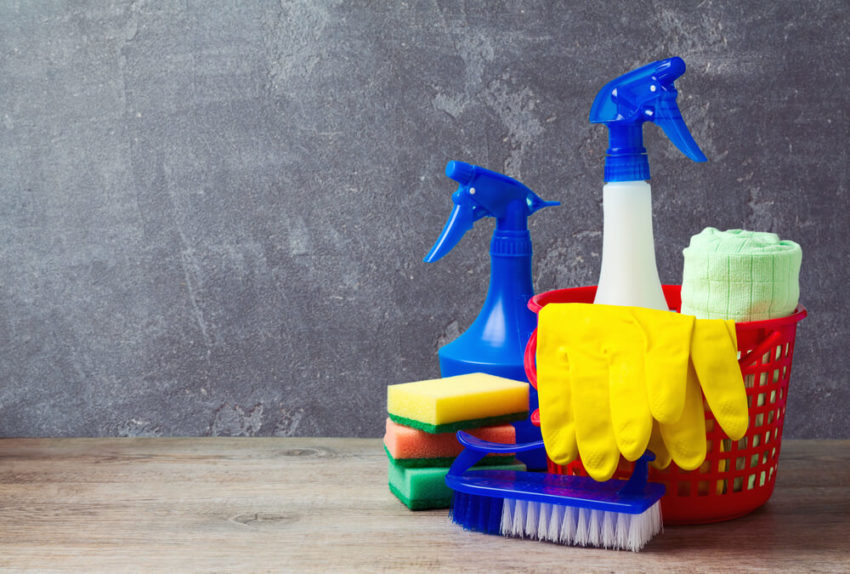
Safety
Safety during cleaning is important especially if you suffer from allergies or plan to use heavy-duty cleaners. So, for safe spring cleaning, wear masks, hairnets, rubber gloves, and scarves. Wearing protective gear will guard you against allergic reactions and/or skin irritations.
How to get started with the 21-Day Spring Cleaning Plan:
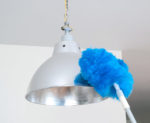
Day 1: Dusting

The first day of our plan is dedicated to dusting. Dusting is a task that is common and applies to all the rooms in the house. You should start cleaning every room by dusting the ceilings, light, and fan fixtures. Then dust the room corners for cobwebs.
Once that’s done, then dust the furniture, bookshelves, and other items before cleaning all the dust from floors with a good vacuum. Here are some good dusting tips to help you with this task.
Day 2: Clean Window Curtains and Window Blinds
After dusting, it’s time to clean the curtains. This is another common task for all your rooms as most of the rooms have curtains. It’s easy to clean your curtains using a steam cleaner or you can also wash your curtains manually. Here are the instructions on how to wash the curtains manually.
You can also vacuum curtains and window blinds if they are not that dirty.
Day 3: Clean Windows, Window Sills, and Tracks
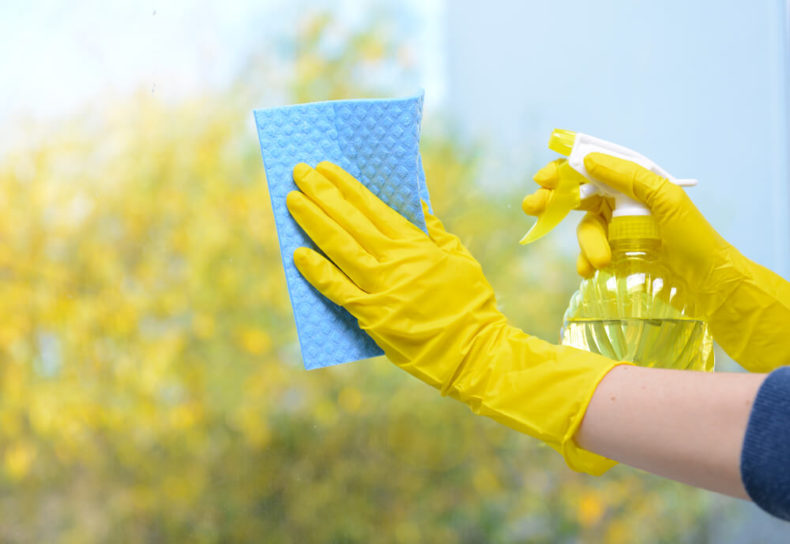
Window cleaning is often neglected when it comes to spring cleaning. This is another task common to all the rooms in your house. Make your window cleaning solution by mixing 2-3 tbsp dawn dish soap and 1 tbsp liquid Jet dry into 1/2 gallon warm water for a streak-free shine. Here are some more window cleaning hacks to make cleaning easier.
For window sills and sashes, the first thing you should do is brush or vacuum out any dry dust or dirt particles. Then, dip a Q-tip in vinegar and run it outside and inside of the window track to clean the grime. Give a final shine by wiping with a paper towel.
Also clean every mirror in your home today including those in the bathroom, kitchen, and bedroom.
Day 4: Clean Countertops & Sinks (Kitchen & Bathroom)
Counters are the main working area of your kitchen, so giving them a deep clean and disinfecting them is a good idea. Cleaning countertops don’t require anything fancy, just wiping with soapy water will do.
To disinfect, you must use a product labeled as an EPA-registered disinfectant and not something that just is antibacterial. Or you can also make your own disinfectant.
The same thing goes for the sink and you can make it sparkle by buffing it using a few drops of mineral oil on a soft cloth.
Day 5: Clean Kitchen Cabinets

Dirt or grime build-up on kitchen cabinets is common, especially if you cook frequently. Surprisingly, cleaning kitchen cabinets is easy enough and there are a lot of ways to clean them. The easiest one according to us is to use Murphy’s oil soap for cleaning them.
While you are at it, make sure you not only clean but also organize your kitchen cabinets this spring.
Day 6-8: Clean Kitchen Appliances
From the microwave to the dishwasher, kitchen appliances do a lot of work for us, and cleaning them is important for their proper functioning and maintenance.
- Wipe down your microwave, coffeemaker, and other small appliances.
- Clean the crumb tray of your toaster.
- Clean your stovetop and oven (inside).
- Clean behind, beneath, and inside the refrigerator and freezer.
- Clean your dishwasher.
- Clean your garbage disposal
For the fridge, the best cleaner is baking soda because it’s non-toxic and natural. Because the last thing you would want is to have chemical vapors trapped in the fridge. Once cleaned, make sure to organize your fridge to keep it clutter-free.
For stainless steel appliances like toasters and tea kettles, use cream of tartar for cleaning and Steelmeiser to protect against future fingerprints and smudges.
For ovens, the auto-cleaning function is quite handy (if you have one) but it’s better to manually clean the oven. Why? Because auto-cleaning is damaging for the oven and reduces the lifespan of your oven considerably.
Day 10: Clean Shower and Bathtub
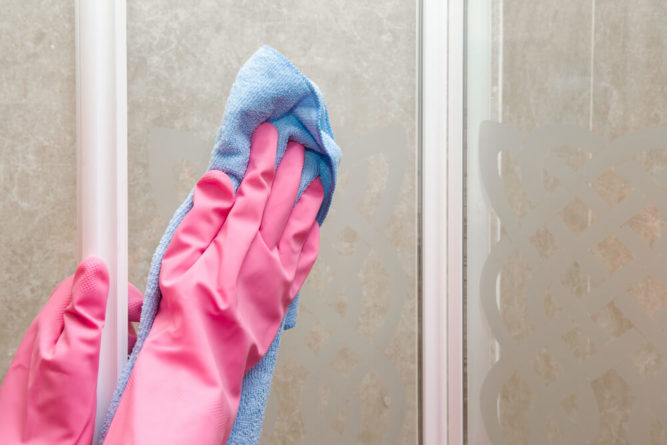
If you have major soap scum or hard water build-up, then vinegar is perfect to clean that. Just mix equal parts of vinegar and warm water with 2-3 drops of your favorite dish liquid. Spray it on the shower doors and wipe it down with a clean cloth to reveal shining clean shower doors. The same thing goes for cleaning bathtubs.
For shower curtains, just wash them in your washing machine with regular detergent and add a cup of vinegar to them. Hang it back up immediately once the wash cycle is complete.
Day 11: Clean Toilet and Drains
Probably the dirtiest and most hated part of cleaning is cleaning the toilet. Fortunately, cleaning the toilet is not hard and many toilet cleaning recipes make toilet cleaning easy.
For cleaning drains and removing hair buildup from the drains, the best tool is to use zip-it. It’s a simple, effective, and chemical-free drain unclogger.
Day 12: Clean Grout and Reseal
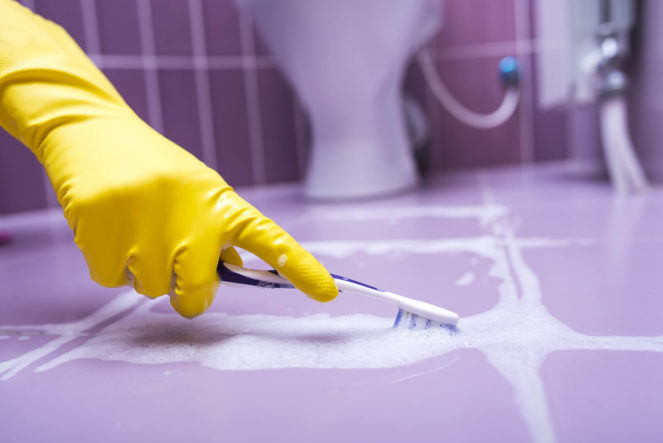
It’s possible and easy to clean and shine the grout with minimal effort using NATURAL ingredients. And those ingredients are vinegar and baking soda. Here is a tutorial on how to clean grout.
Day 13-14: Clean the Bedroom
The place where you usually spend most of your night after an exhausting day should be clean. Here are some tasks for spring cleaning the bedroom.
- Declutter and organize your closet by taking out things that are no longer required.
- Sort your under-bed storage boxes, throw away expired medicines and cosmetics.
- Wash your pillows, pillowcases, bedding, and other linen.
- Vacuum and clean mattress.
- Clean kids’ toys and bath toys (if any).
- Sort your paperwork and organize and get rid of paper clutter.
- Address your drawers and keep them organized.
Day 16: Clean Laundry room
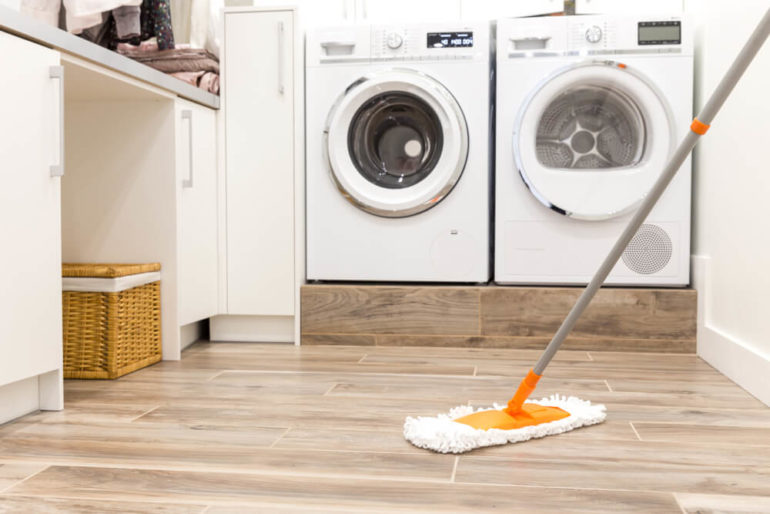
Start by cleaning behind, below, and inside the washing machine and dryer. Make sure to clean the fabric softener and bleach dispensers as well.
Disinfect your washer with baking soda and distilled vinegar. Run the machine with hot water and add 1 cup vinegar to 4 tbsp baking soda. Let it sit for 30 to 60 minutes after running. Restart the machine, drain the water, and let it air dry.
Once everything is done, finish the cleaning by cleaning the floor of your laundry room. Here are some laundry room organization tips to keep your laundry room organized.
Day 17: Wash and Clean Rugs, Carpets, and Upholstery
Carpets, rugs, and upholstery all need deep cleaning at least once a year to make them ready for another year of wear. If you have a lot of carpets to wash, you might want to call in the pros or rent a rug cleaner. You can also try these 17 homemade carpet stain removers.
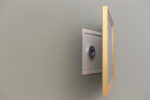
Day 18: Clean Light Switch Plates and Door Knobs
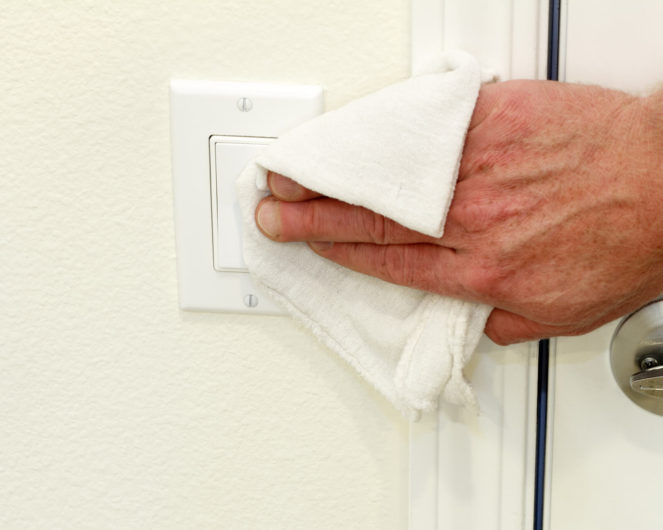
Most people don’t clean the light switch plates and doorknobs during spring cleaning. It’s important to clean and disinfect them regularly as they harbor so much dirt and germs.
Day 19-20: Miscellaneous
Most parts of the home are clean by this time except for a few things. Here are things you need to accomplish in two days:
- Wash the baseboards.
- Wash floors and woodwork
- Clean driveway and garage
- Organize your garage
- You can remove any scuffs and marks using a magic eraser
Day 21: Keeping the Air Clean
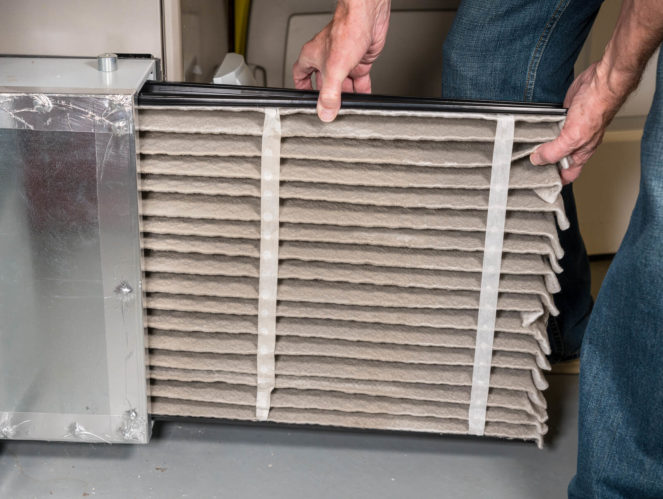
One of the important yet neglected parts during spring cleaning is replacing the furnace and HVAC filters. Replacing a filter is important and works wonders in improving indoor air quality. It is an inexpensive way to make sure you’re breathing clean, healthy air.
There you have it– 21 days of spring cleaning tips to help you clean your home from top to bottom by MAXIMIZING the cleaning and MINIMIZING your time and effort. If you found these tips helpful, do share the post!